Small-Batch Wild Blackberry Jam Without Pectin: A Step-by-Step Recipe
Wild blackberries do not behave like the fat, uniform ones in a plastic clamshell. They arrive in a scratched-up bucket — some sweet, some sharp, some barely holding together — and they set differently every single year. That is exactly why a small batch and a short ingredient list beat a box of commercial pectin here. With lemon for acid, a modest amount of sugar, and the fruit's own gelling power, you get a jam that tastes like the thicket it came from: looser than store-bought, darker in color, and far more interested in the berries than in the sugar.
Why Wild Blackberries Make a Different Jam
Cultivated berries are bred for size, firmness and predictable sugar. Wild ones are not. A hedgerow patch can give you tiny, intensely flavored fruit one week and watery, almost tasteless berries after three days of rain. Their pectin content swings the same way — blackberries sit on the low-to-middle end of the pectin scale, and a hot, dry summer can push them lower still.
Commercial pectin solves that problem by demanding a lot of sugar to gel, often more than the fruit itself weighs. Skip it and you rely on four things instead: the pectin that is naturally there, acid, sugar, and evaporation. The result is a softer, spoonable jam. It will not sit up in a neat cube on toast, and that is the point — it tastes like blackberries rather than like a confection.
What You'll Need
This makes roughly three to four half-pint jars from a small picking. Weigh the fruit if you can; wild berries vary so much in size that cups are a rough guide at best.
- 4 cups (about 2 lb / 900 g) cleaned wild blackberries, including a handful of firm, slightly underripe ones — those carry extra pectin
- 2 to 2½ cups granulated sugar (roughly 450–500 g), adjusted to how tart the fruit tastes
- 3 tablespoons fresh lemon juice, plus the zest of half a lemon if you like a brighter edge
- Optional: one small tart apple, peeled and grated, as pectin insurance
- Optional: ¼ teaspoon butter, which tames the foam
Equipment matters more than people expect. Use a wide, heavy pot — five or six quarts — because surface area is what drives evaporation. A deep narrow saucepan will keep you stirring for an extra twenty minutes.
- A potato masher and a long wooden spoon
- A food mill or fine sieve if you want seedless jam
- Two or three small plates, kept in the freezer
- Half-pint jars, new lids, bands, and a water-bath canner or a deep pot with a rack
Picking and Preparing the Fruit
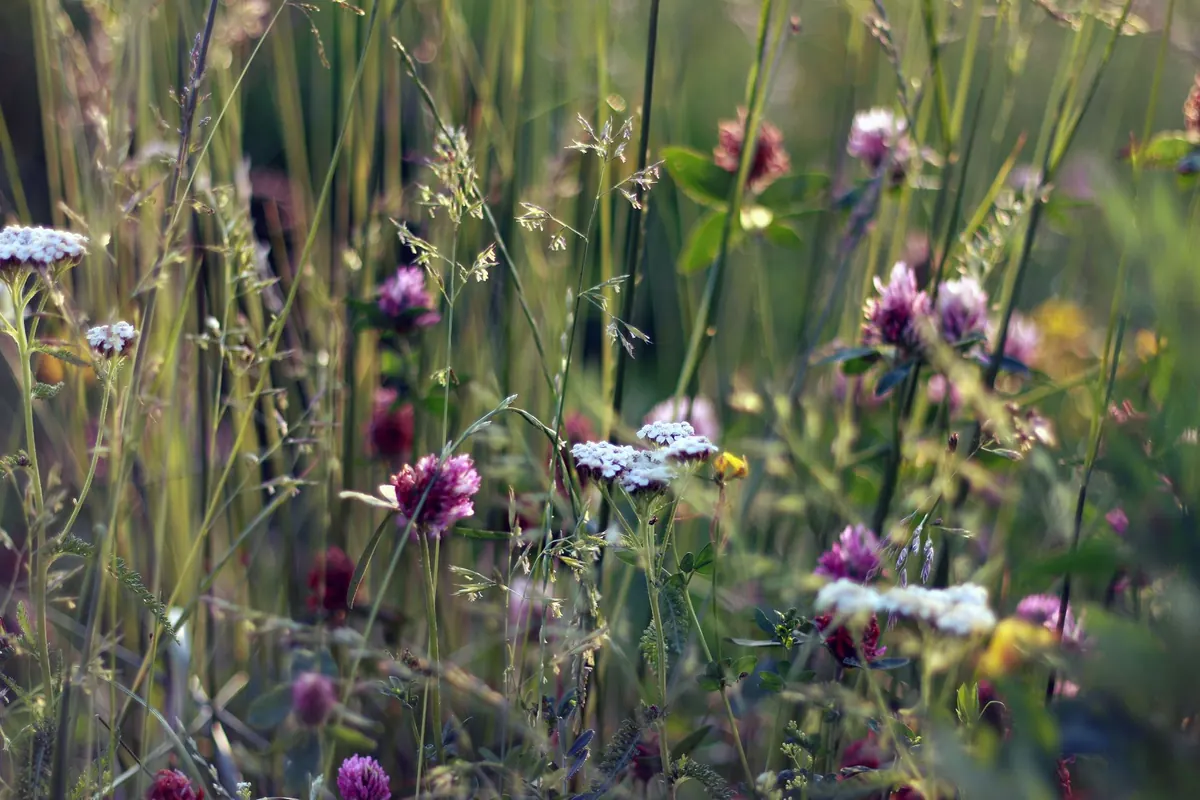
Pick on a dry day, ideally after a dry one. Wet berries carry extra water and spoil faster, and jam made from soaked fruit tastes thin. Stay away from busy roadsides and any ground you know has been sprayed. Take a mix of fully ripe and just-underripe berries; the firm ones are your pectin supply, and they will not noticeably sour the batch.
At home, tip the berries into a bowl of cold water and swirl gently. Leaves float, as do most of the small insects that came along for the ride. Drain, then pick through and discard anything mouldy or mushy. Do not soak them — a quick rinse is enough.
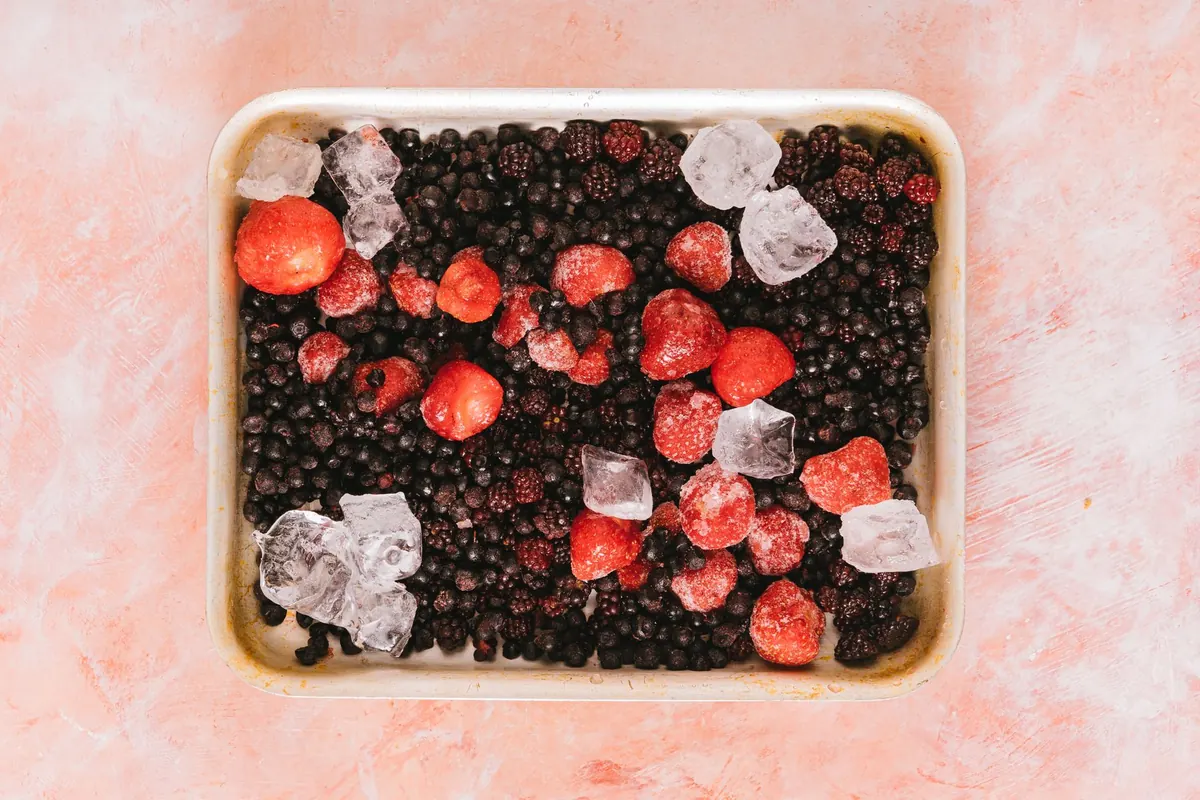
If you are not cooking today, freeze the berries flat on a tray. Freezing ruptures cell walls, so the fruit releases juice and pectin more readily when you do get around to it. You can go straight from frozen to the pot.
The Method: Macerate, Then Cook
Step one: macerate
Combine the berries, sugar and lemon juice in a glass, ceramic or stainless bowl. Mash lightly with the potato masher — you want broken fruit with plenty of whole berries left. Cover and refrigerate for four hours, or overnight.
This step is not fussiness. Sugar draws water out of the fruit, so you start cooking with a pot of syrup rather than a pot of fruit. Less time on the heat means a brighter color and a fresher flavor, and the acid has time to work on the pectin before the temperature climbs.
Step two: simmer, then boil hard
Pour everything into the wide pot and add the grated apple, if using. Bring it to a simmer over medium heat, stirring until any undissolved sugar has gone. Then turn the heat up and let it boil properly, stirring often and scraping the bottom corners where it catches.
Skim the pinkish foam as it rises — or stir in the butter, which mostly stops it forming. Expect twenty to thirty minutes. Wild berries can be watery, so the first fifteen minutes are mostly about driving off liquid.
Step three: watch for the change
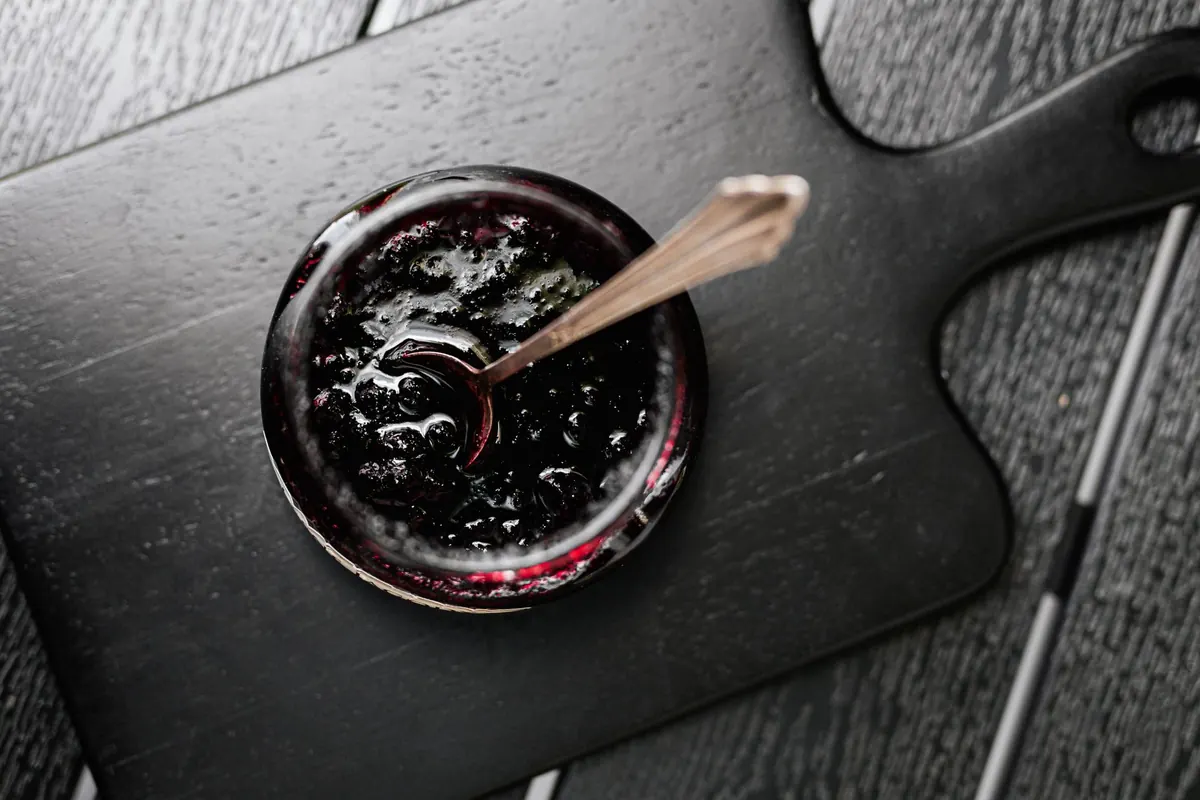
Near the end, the bubbles get smaller, darker and glossier, the spoon starts leaving a clear trail across the bottom of the pot, and the surface begins to look like a sheet of metal rather than a simmering soup. That is your signal to test. Do not walk away at this stage; unsweetened jam goes from ready to scorched in about ninety seconds.
Testing the Set Without a Thermometer
Put a teaspoon of hot jam on a frozen plate and return it to the freezer for a minute. Push the edge of the puddle with your fingertip. If it wrinkles and holds a channel, it is done. If it slides around like syrup, cook another three to five minutes and test again on a fresh cold plate.
A second check: dip a cool metal spoon in, let it sit for ten seconds, then pour from the edge. Finished jam falls in a flaking sheet rather than a thin stream. If you have a thermometer, jam sets around 8°F above the boiling point of water where you live — but altitude and weather make that a backup test, not the main one.
Remember that jam thickens as it cools. Pull it slightly under and you will be happy with it an hour later; overcook it and you get a stiff, dark paste no amount of stirring will fix.
Canning and Storage
Wash and heat your jars and keep them hot. Ladle the jam into hot jars leaving ¼ inch of headspace, wipe the rims clean, and put the lids on to fingertip tight.
- Lower the jars into the canner on a rack so they are covered by one to two inches of water.
- Bring to a rolling boil and process for the time given in a tested canning guide — the USDA Complete Guide to Home Canning or a university extension publication — for your jar size and altitude. Half-pints are commonly processed somewhere around five to ten minutes at low elevations, longer as you go higher, so check rather than guess.
- Turn off the heat, lift the lid, wait five minutes, then remove the jars and set them on a towel.
- Leave them undisturbed for twelve to twenty-four hours, then check the seals, remove the bands, and label with the date.
Reducing sugar changes how the jar keeps after you open it, not whether it is safe on the shelf. Safety comes down to acidity, and blackberries are acidic enough for boiling-water processing. Still, low-sugar jam has less of a preservative cushion. Once a jar is open, refrigerate it and use it within a few weeks, and discard anything with a bulging lid, a sour smell or visible mould.
No canner? This is excellent refrigerator jam — about three weeks — or freeze it in straight-sided jars, leaving an inch of headspace for expansion.
Troubleshooting and Small Twists
- Too runny after cooling: reheat with another tablespoon of lemon juice, or accept it as a soft set for yogurt and porridge. It is genuinely good that way.
- Too stiff: a splash of water or apple juice while reheating brings it back.
- Seeds bother you: run the raw fruit through a food mill before macerating, or push the finished jam through a sieve.
- Flavour ideas: a sprig of rosemary or thyme steeped during the boil, a split vanilla pod, cracked black peppercorns, lemon zest, or a spoonful of bourbon stirred in off the heat.
- Keep notes. Write the fruit weight, sugar weight and cooking time on the jar lid. Next year's berries will be different, and you will want the record.
Start With a Single Batch
Make one pot, from one picking, before you commit a whole afternoon to jam. Four cups of fruit and a wide pan will tell you more about your local berries than any recipe can, and the first jar is the one you learn from. Taste it warm, taste it cold the next morning, and adjust the lemon and sugar next time. The patch you picked from will be back in twelve months, and by then you will know exactly what it needs.
Drying Wild Mushrooms at Home: Dehydrator, Oven, and Air-Drying Methods
A practical guide to drying wild mushrooms in a dehydrator, oven, or open air, with prep steps, dryness...
Beginner's Guide to Identifying Wild Raspberries, Blackberries, and Dewberries
Learn to tell wild raspberries, blackberries, and dewberries apart by fruit core, cane habit, leaves,...
About Us