How to Freeze Wild Berries Without Turning Them to Mush
Wild berries rarely arrive in tidy, uniform pints. You come home with a stained bucket of blackberries, a few cups of huckleberries picked one at a time, or a handful of serviceberries that were firm an hour ago and are softening now. Freezing is the simplest way to hold onto that haul. Done carelessly, it also gives you a solid block of slush — usable in a smoothie, disappointing in a pie. The difference comes down to three things: freezing fast, freezing separately, and keeping the air away afterward.
Why Wild Berries Turn to Mush
Freezing doesn't ruin berries. Slow freezing does. As the water inside a berry turns to ice, it expands and pushes against the cell walls. A slow freeze forms large crystals; large crystals tear cells apart. Thaw the berry and it slumps, leaking juice onto the plate.
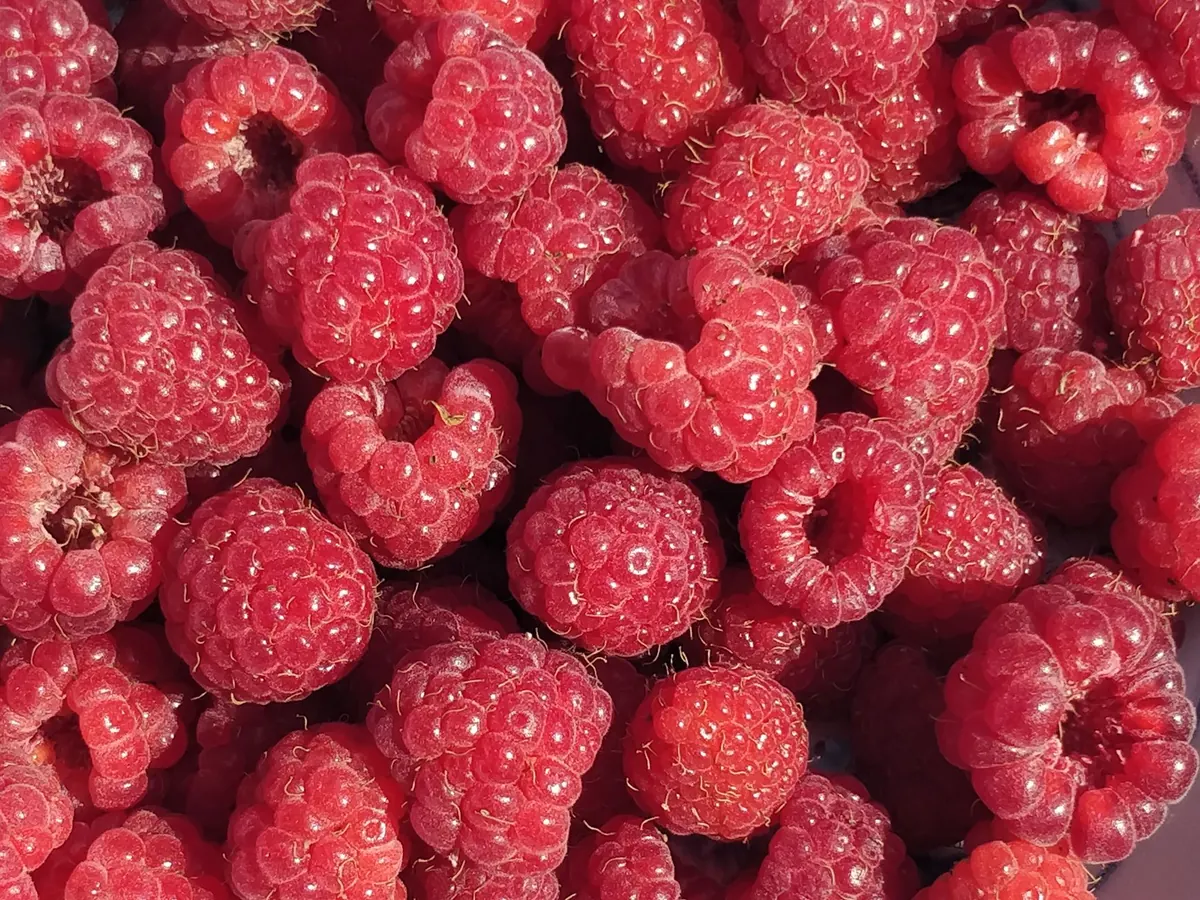
Wild fruit is especially vulnerable. The berries tend to be smaller, thinner-skinned, and riper than anything from a store — think thimbleberries, wild raspberries, blackberries picked warm off the cane. Blueberries, huckleberries, and cranberries hold up better because of their skins, but they still suffer if they freeze in a wet clump.
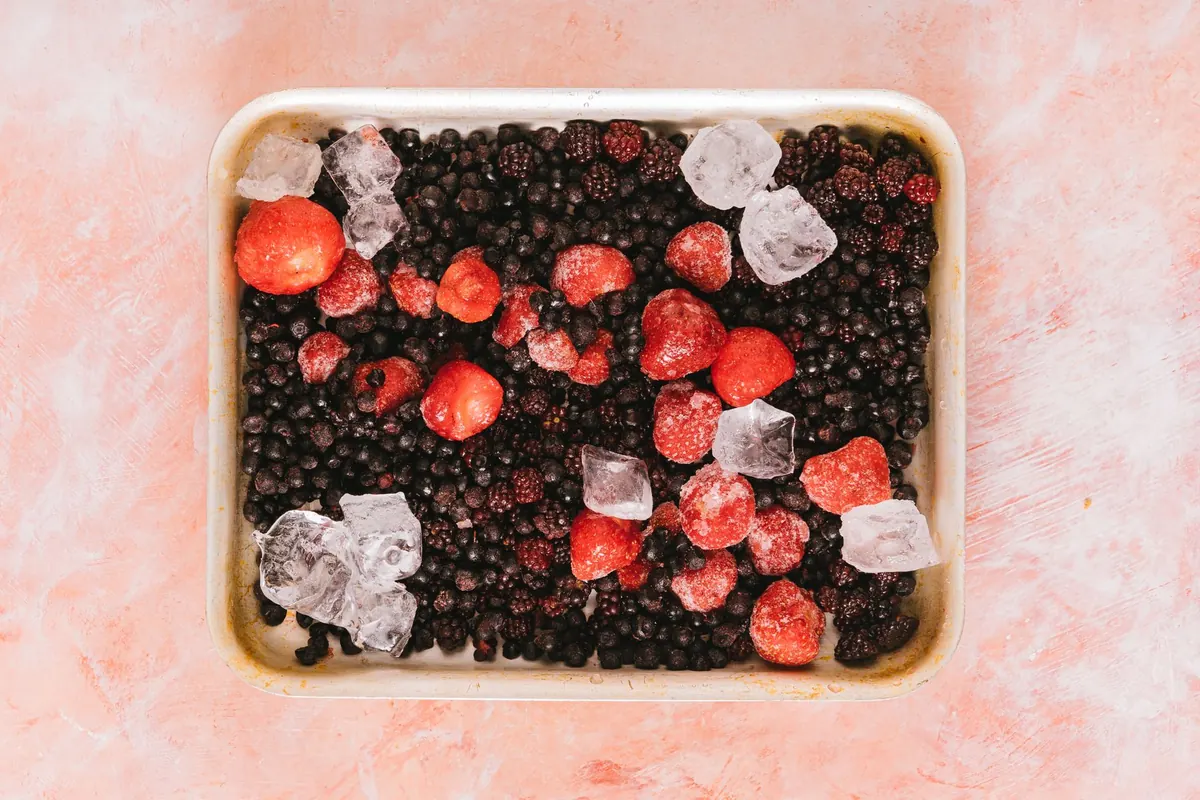
The answer is to freeze each berry fast and separately. That's all flash-freezing means at home: one layer on a tray, cold air moving around every berry, so they harden individually and stay loose in the bag.
Think of a wild blackberry compared with a block of frozen spinach. The spinach was chopped, cooked, and packed tight before freezing, so its cell walls were already compromised. A perfect blackberry is a tiny water balloon held together by delicate skin. If it freezes slowly inside a crowded container, the ice crystals grow large enough to puncture that skin from the inside. By the time you thaw it, the berry has essentially bled out. Fast freezing keeps those crystals small, so the berry keeps more of its shape and more of its juice.
Step One: Sort, Rinse, and Dry
Start by spreading the berries on a clean towel or sheet pan in a single layer. This lets you see what you have and remove anything that should not go into the freezer. Pick out leaves, stems, pine needles, insects, and any berry that is moldy, split, or already leaking. One moldy berry can flavor an entire bag, and a crushed berry will freeze into a sticky lump that glues its neighbors together.
Rinse only if the berries need it. Wild berries often carry dust, bird droppings, or grit, but they are also fragile. Put them in a colander and rinse gently under cool running water. Do not soak them. Soaking adds water to the surface, and surface water is the enemy of flash-freezing. If the berries are clean — especially if you picked them yourself and they look bright and dry — you can skip rinsing altogether.
After rinsing, drain well and spread the berries on a clean kitchen towel or a layer of paper towels. Pat them dry with another towel. You do not need to polish each berry, but they should not be dripping. A dry surface freezes faster and prevents ice crystals from forming between berries.
What to Look For While Sorting
- Firm and plump: These are the best candidates for whole freezing.
- Soft but not spoiled: Use these for sauce, jam, or smoothie packs rather than whole freezing.
- Moldy or leaking: Discard them. Do not compost them into the freezer bag.
- Stems and caps: Remove stems from currants, gooseberries, and cranberries when practical. Tiny stems on huckleberries can stay; they will not hurt the final dish.
- Unripe berries: Freeze them separately. They will be tart and better cooked into jelly or sauce than eaten straight.
Step Two: Flash-Freeze on a Tray
Line a rimmed baking sheet with parchment paper or a silicone mat. Spread the dry berries in a single layer, leaving a little space between them. If berries are touching, they will freeze together at the contact points and you will have to chisel them apart later. For small berries like wild blueberries or huckleberries, a single layer can be quite dense, but still avoid heaping them into mounds.
Slide the tray into the coldest part of your freezer. If your freezer has a quick-freeze shelf or an ice cream setting, use it. Leave the tray uncovered for two to four hours, or overnight for larger berries. The goal is for each berry to become hard and loose. Test one by picking it up: it should rattle on the tray, not stick to its neighbor.
Do not skip this step by pouring fresh berries straight into a bag. That is the fastest way to get a solid mass. Even if the bag is thin, the berries in the center will freeze slowly while the outer ones freeze fast, and the result will be uneven texture and clumped fruit.
Step Three: Pack and Protect
Once the berries are frozen individually, work quickly. Transfer them to freezer bags or rigid freezer containers. For bags, press out as much air as you can, or use a vacuum sealer on a gentle setting. For containers, leave about half an inch of headspace so the berries do not get crushed when the contents expand slightly. Label each package with the berry type and the date. A bag of anonymous black-purple fruit from two summers ago is not useful if you cannot remember whether it is huckleberry or serviceberry.
Return the packed berries to the freezer immediately. Every minute they sit on the counter, they warm up and begin to lose their individual freeze. If you are packing a large haul, do it in batches and keep the unbagged frozen berries in the freezer while you work.
Dry Pack, Sugar Pack, or Syrup Pack?
Plain dry-packed berries are the most versatile. They work in smoothies, muffins, pies, and sauces. But some people prefer to add sugar or syrup before freezing, especially for dessert berries that will be eaten raw or spooned over ice cream.
- Dry pack: Freeze berries as they are. Best for pies, breads, and smoothies. The berries stay separate and you can pour out exactly what you need.
- Sugar pack: Toss berries with sugar — about half a cup of sugar per quart of berries — until they release a little juice, then pack into containers. This helps fragile berries hold their shape and makes a ready-made sauce. It also softens them, so skip it if you want firm berries for baking.
- Syrup pack: Cover berries with a light sugar syrup made from one part sugar to three parts water. This is excellent for raspberries, blackberries, and other soft berries destined for shortcake or pancakes. It uses more space and more sugar, but the texture is often better for raw desserts.
Extra Useful Section: Which Wild Berries Freeze Best?
Not every wild berry freezes equally well. If you are planning a freezer stash, it helps to know what to expect.
- Blueberries and huckleberries: Excellent for whole freezing. Their firm skins and dense flesh hold up well. Flash-freeze them dry, then bag them for muffins, pancakes, and pies.
- Cranberries: Very good for freezing. They are firm and tart, and they do not need blanching. Freeze whole for sauces, relishes, and holiday baking.
- Wild raspberries, blackberries, and thimbleberries: Good for freezing, but fragile. Flash-freeze carefully and handle the frozen berries gently. Expect them to soften when thawed; use them in sauces, smoothies, jams, and cooked desserts rather than as a fresh garnish.
- Serviceberries, Saskatoons, currants, and gooseberries: Good to very good. Serviceberries and Saskatoons freeze well whole and are excellent in pies and muffins. Currants and gooseberries keep their shape reasonably well, though they may soften slightly.
- Elderberries: Freeze only for cooking. Raw elderberries should not be eaten, so freeze them in recipe-size portions for jelly, syrup, or cooked pies.
Extra Useful Section: Thawing and Using Frozen Wild Berries
How you thaw matters almost as much as how you freeze. For smoothies, use the berries frozen. They will blend into a thick, cold drink without watering it down. For muffins, scones, and quick breads, fold frozen berries directly into the batter. Tossing them with a spoonful of flour first can help keep them from sinking. For pies, keep the berries frozen until they go into the crust. Toss them with sugar and a thickener like cornstarch or tapioca, then bake. If you thaw them first, they will release juice and make the crust soggy.
For sauces, jams, and compotes, you can cook the berries straight from frozen. They will break down quickly, which is exactly what you want. For a raw garnish or a bowl of berries with cream, thaw them in the refrigerator on a paper-towel-lined plate. This takes four to eight hours, but it gives the berries the best chance to hold their shape. Avoid thawing on the counter, in warm water, or in the microwave. Those methods are too fast and too rough on fragile cells.
If a recipe calls for drained thawed berries, set a bowl underneath the colander. The juice that drips out is sweet and useful in vinaigrettes, cocktails, sauces, or oatmeal.
Troubleshooting Mushy Frozen Berries
- They froze in a solid clump: You likely packed them before they were individually frozen, or the berries were still wet. Next time, dry them well and freeze on a tray until they rattle.
- They are crushed and leaking: The berries may have been too ripe before freezing, or they were stacked under heavy containers. Use them in cooked applications and freeze future batches in smaller, shallower packages.
- They taste like freezer burn: Air reached the berries. Press all the air out of bags, use freezer-safe containers, and keep the packages in the coldest part of the freezer. Freezer burn is not unsafe, but it is dry and dull.
- They thawed and refroze: This can happen if the freezer door was left open or the power went out. Refrozen berries will be mushy and may have lost quality. Use them for jam or sauce rather than eating them whole.
Final Tips for a Better Freezer Stash
- Pre-chill your baking sheet in the freezer for ten minutes before adding berries. A cold surface helps the berries start freezing on contact.
- Do not overload the freezer. A packed freezer freezes slower. If you are freezing a large haul, freeze one tray at a time and give the freezer space to recover.
- Keep your freezer at 0°F (-18°C) or colder. A freezer thermometer is cheap and takes the guesswork out of storage.
- Freeze in recipe-size portions. A one-cup bag of huckleberries is easier to use than a gallon bag you have to break apart.
- Use the oldest berries first. Most wild berries keep well for six to twelve months. After that, they are still safe but the flavor and texture decline.
- Keep a freezer inventory taped to the door. A simple list of berry type, amount, and date prevents mystery bags from piling up.
Freezing wild berries is not complicated, but it is not careless either. Sort them, dry them, freeze them fast and separately, and protect them from air. Do that, and a bucket of fragile summer berries can become a winter pie, a January smoothie, or a spoonful of sauce over pancakes — without turning into mush.
Photo: Antoni Shkraba / Pexels
Drying Wild Mushrooms at Home: Dehydrator, Oven, and Air-Drying Methods
A practical guide to drying wild mushrooms in a dehydrator, oven, or open air, with prep steps, dryness...
Beginner's Guide to Identifying Wild Raspberries, Blackberries, and Dewberries
Learn to tell wild raspberries, blackberries, and dewberries apart by fruit core, cane habit, leaves,...
About Us